Saturday, May 24, 2014

DIY Reversible Roman Shade

DIY
Reversible Roman Shade


This is a fun, easy window treatment.  It is made with two different fabrics so you can change the look of a room in flash.   Instructions to attach a lining to protect the shade from the sun is also included.  
 
Change the look of your window with one quick change.  The shade is attached to tension rods adjusted to the inside width of your window.  Simply move the rods closer or further apart to change the look of the shade.  The mounting is not permanent and will not damage the wood on the window.  This is made for an inside mount window.  What this means is the shade will be inserted in the inside of the window casing.  In this example, I have used cotton quilt fabric by designer Joel Dewberry.  This fabric is from his Modern Meadow collection in the Pond Pallete.
 
This project will take from 1 to 2 hours depending on your skill level.  If you prepare the project a day ahead by cutting out the panels, you can definitely complete this in an hour!  Have fun.  You can get your DIY Sewing Pattern here at  AggieRay Designs.


Monday, February 10, 2014

My head is spinning with new ideas!

Not sure what has inspired me, but I have a lot a great ideas for new patterns!  I created this beauty for a friend!


Friday, February 7, 2014

More February Inspiration for you!  Let me know if you want the sewing pattern.....


Sunday, February 2, 2014

More inspiration for February!

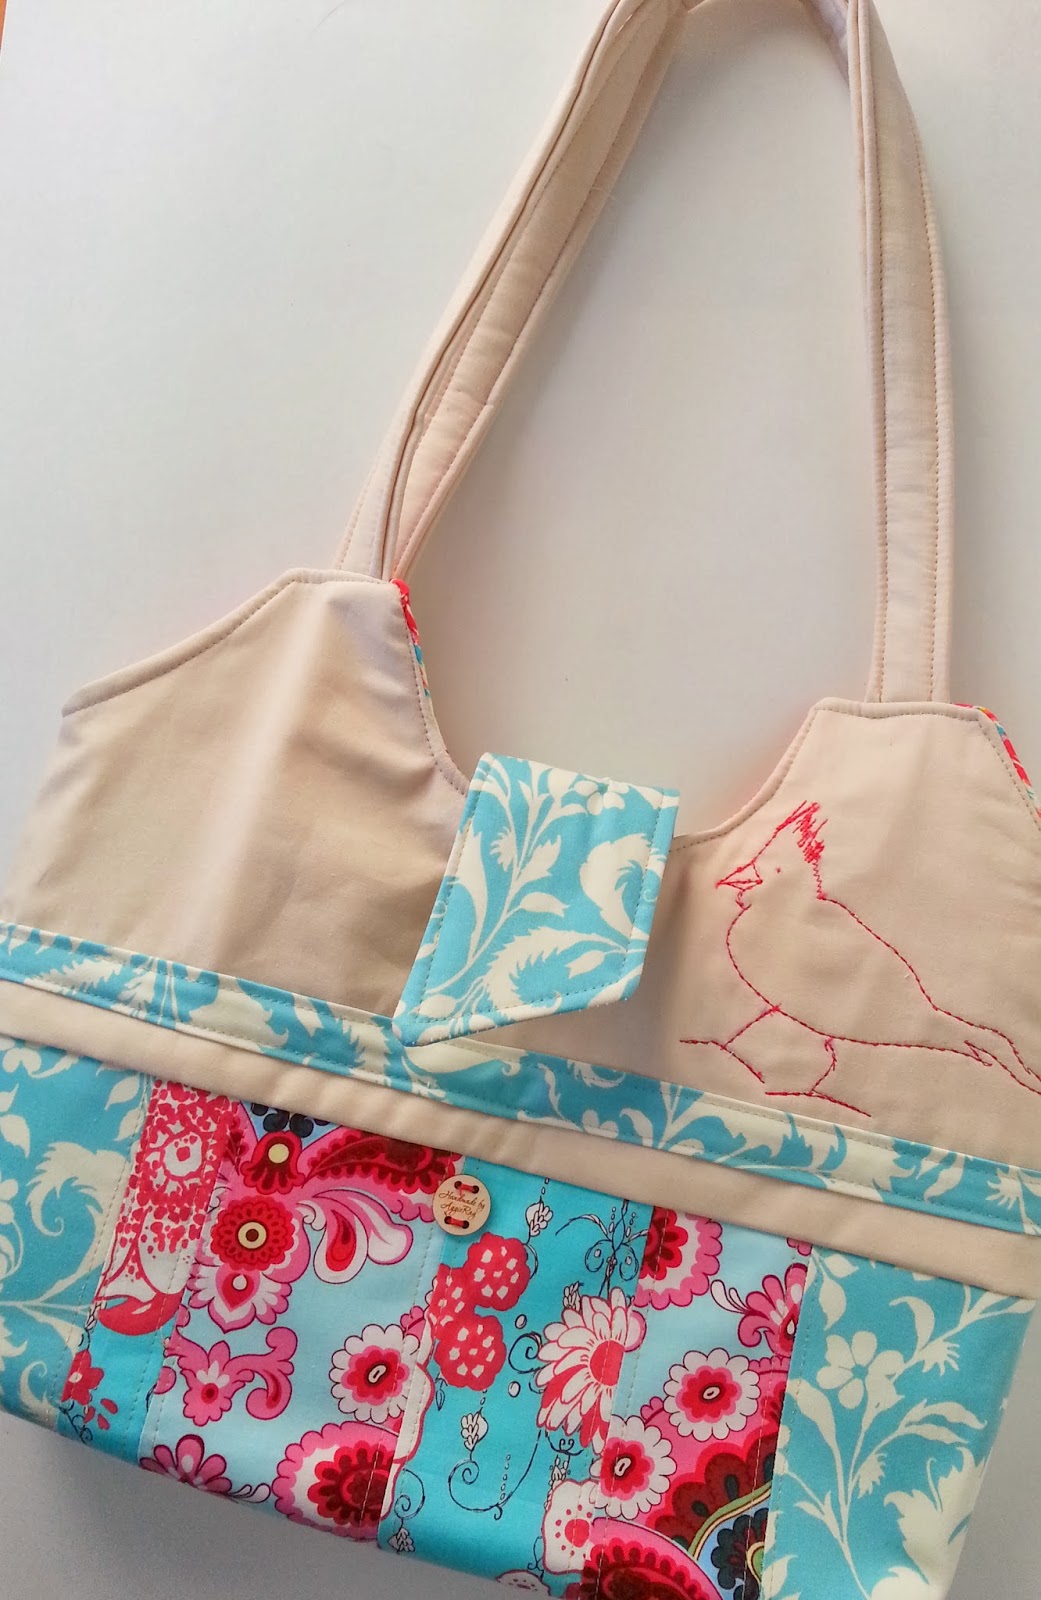
I am in the processing of writing the sewing patterns for these designs!  Enjoy!  These can be used as diaper bags, knitting bags, crochet or craft totes!


Tuesday, January 28, 2014

Winter Projects: February Inspiration--start sewing

I have been working on this project, yes for about a year.  I will not lie.  I started it a year ago and just finished.  However, it really doesn't take that long to make one.  A weekend will do!  If you take a look at my shops, you will know why it took me so long to make this for my family.  I stuffed the pillow, but left it open just to test to see if I need to add more fill.  This is a great floor pillow for the kids or adults.  I love to put it on my couch and sink right into it.  You will fall asleep in no time!

I followed this tutorial and used scraps of fabrics I had left over from my many projects.  I hope this will inspire you to make one of your own.  YOU CAN DO IT! 


Friday, January 3, 2014

Kitchen Cabinet Remodel

How to easily pain your kitchen cabinets.

This was one project I didn't want to take on.  I have so many cabinets and these cabinets are 22 years old.  The original cabinets were oak.  I attempted to stain them a few years ago with sanding and a black stain. That didn't work so after having my family complain about the look of the black cabinets, I discovered RustOleum Cabinet Transformations.  I purchased the kit at my local Home Depot at a cost of $84.  I had 40 black cabinet doors and draws to refinish.  The kit calls for finishing the front and back of the doors.  I did not do this.  The kit contains 2 quarts of the top coat which was tinted to the linen color. 

After first lightly sanding my doors  (the instructions indicate that you do not have to do this, but they were black), then applying the de-glosser, I applied 3 coats of the top coat.  After allowing that to dry, I applied the glaze.  I will admit I did make one mistake.  When I did my test for the glaze on one of the door fronts, I did not stir the can of glaze.  This resulted in a light brown color glaze.  When I watched the you-tube video on tips and techniques, I realized I didn't stir the glaze. So I went back and did so, this resulted in a blackish grey look to the glaze, which I did not like with the linen in my kitchen. This may be perfectly fine for other kitchens or the look you want.  Make sure you test the glaze technique on the back side of one of your doors before applying to the outside of your project.

After allowing for the glaze to dry, I applied the top sealer coat, which was the easiest part.  This doesn't show any imperfections at all. 

In Summary, this is a great project if you want to give your kitchen a fresh new look. There are many colors to choose from.  The project is a long process and one that you really want to take your time doing.  If you have to do this in a garage, the weather must be warm.  This shouldn't be done in cold weather areas.  Basically, each step was done as a day-long process.  It took me about 3 weekends with my family helping to complete.  To avoid mistakes and rushing, it is best to take your time.  As you feel overwhelmed about the number of steps to do, take it one day at a time.  You will love the end result.  Here is the you-tube video Cabinet Restoration.

I also covered by dishwasher with a stainless steel roll application I found on Amazon for $20.  The results was excellent! See the final picture.


Wednesday, September 25, 2013

Time to re-invent yourself!

How to be successful in your Craft Business!

How will you be successful with any business you own and operate.. you always have to stay ahead of the curve.  Just because you do one thing and it is successful, doesn't mean that is always going to be a successful venture. You always have to be on top of what is trending, what is happening with the economy and try to figure out what you can do to be a success in business and you will be most importantly HAPPY doing it.

If you are not getting sales in your shop, take a close look at your shop.  Is it because of your listings, photographs or tags or is it because the things you are selling are just not what your target market is interested in buying. 

Most importantly, you must have be happy with what you are doing.  If you have something in your shop that you are making and selling 100's of, are you really happy make that one item over and over.  I wouldn't be...

You don't have to have 100 + listings either. If you make a good-quality product and have 10 of them, then they will sell! 

Most importantly you must love it and it must be your passion!